


This edition of tips & tricks was written for Graphic Union UK. So, if you’ve arrived at the GRFxFILM newsletter from Instagram, welcome. And, thank you to everyone at the Graphic Union UK for inviting me to contribute to your Instagram account!
Image Transfers in Film Graphic Design
An image transfer is a technique where a printed design is reapplied to another surface. It’s a handy for mock-ups, templates, stencils, aging and prop making. They are especially useful when working with materials that cannot be printed.
There are many types of transfer methods and material available. The first category included commercial image transfers like heat transfer paper, printable dry rub transfer paper or Water-Slide Decals. These are expensive, but transfer vivid colors and clean edges. Often used for T-shirt graphics, tattoos, decorating things like mugs and glasses, or labeling.
The second type of image transfer are DIY methods using readily available materials like glue, tape, gel medium, wax paper or acetone (aka nail polish remover). This post is all about this type. They are cheap, convenient and a good resource to have when you are thinking “how am I going to do that.”
Where to use an Image Transfer
Mock-up or Prototyping
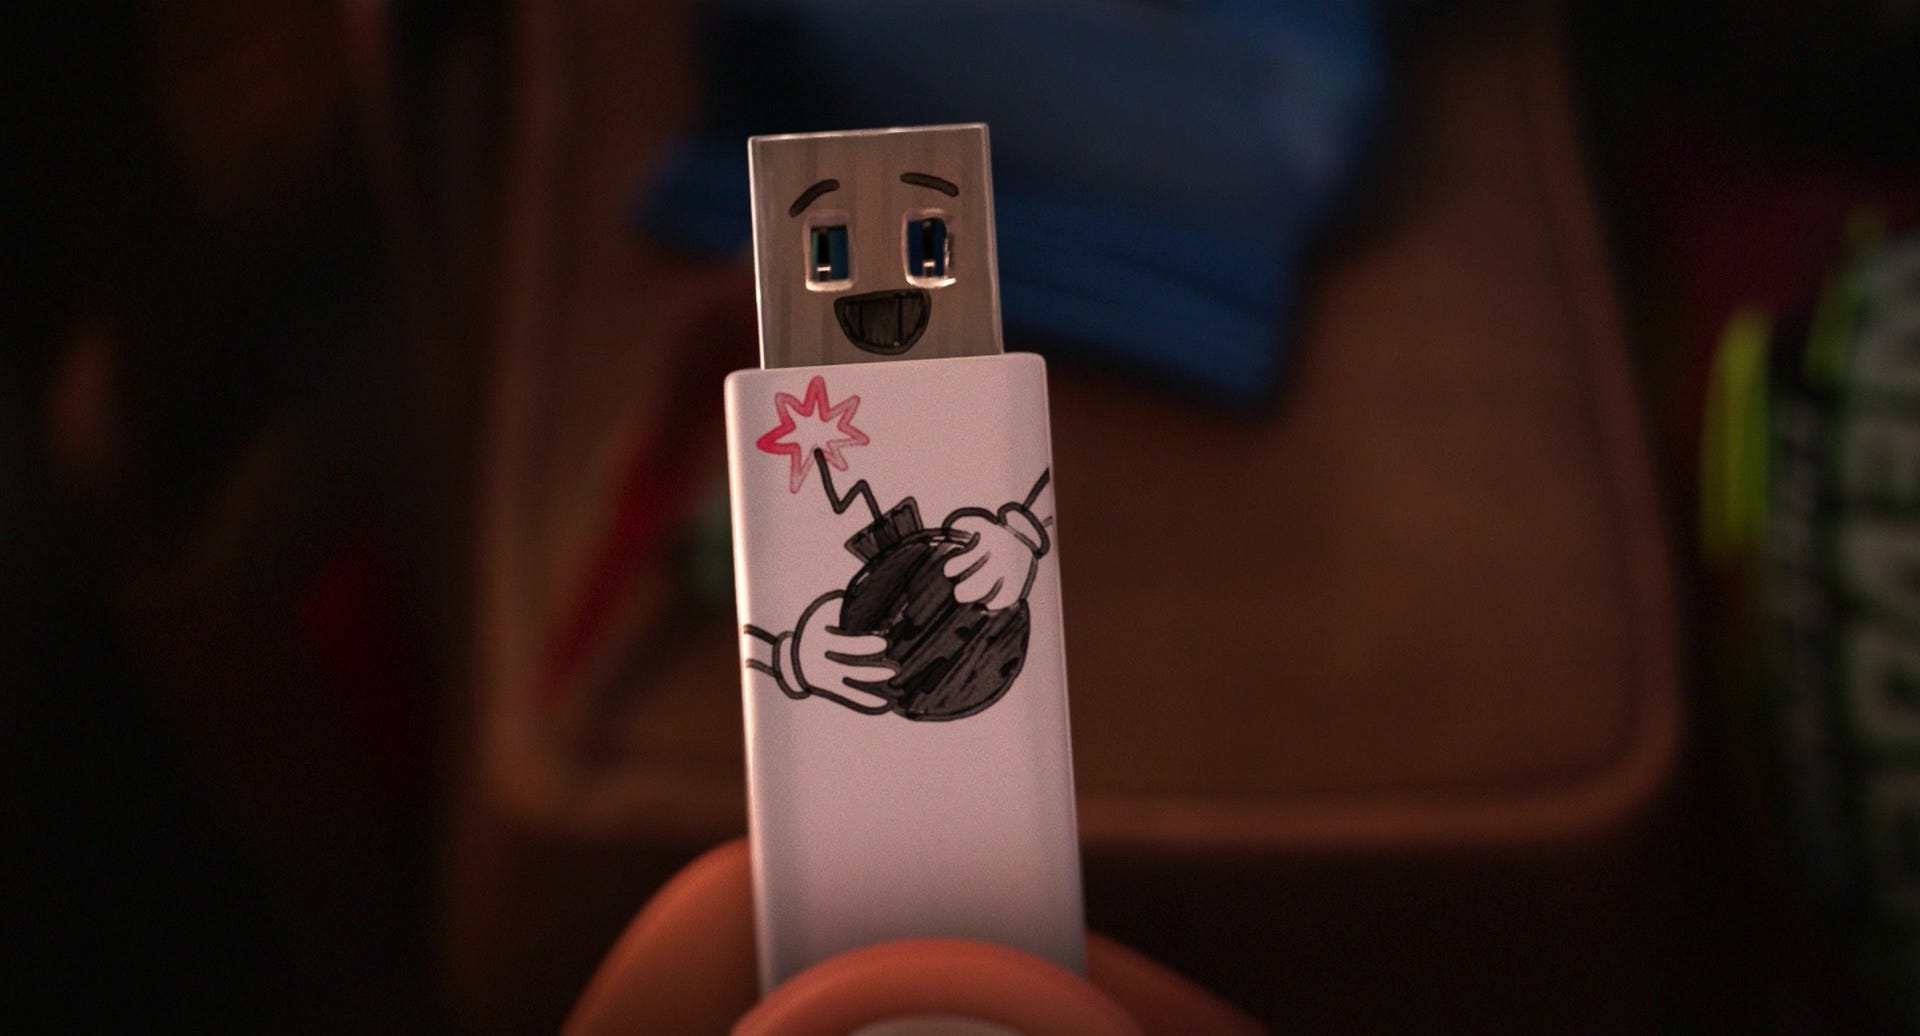
Useful for testing placement, size, color and opacity before committing to the final. Use on any material, but if the transfer needs to be cleaned off it is best on a smooth surface like glass, plastic, metal or ceramics. Great for testing a design where regular printing is impossible like a doodle on a thumb drive.
The Mitchells vs. the Machines
A Template for Hand Drawing a Duplicate
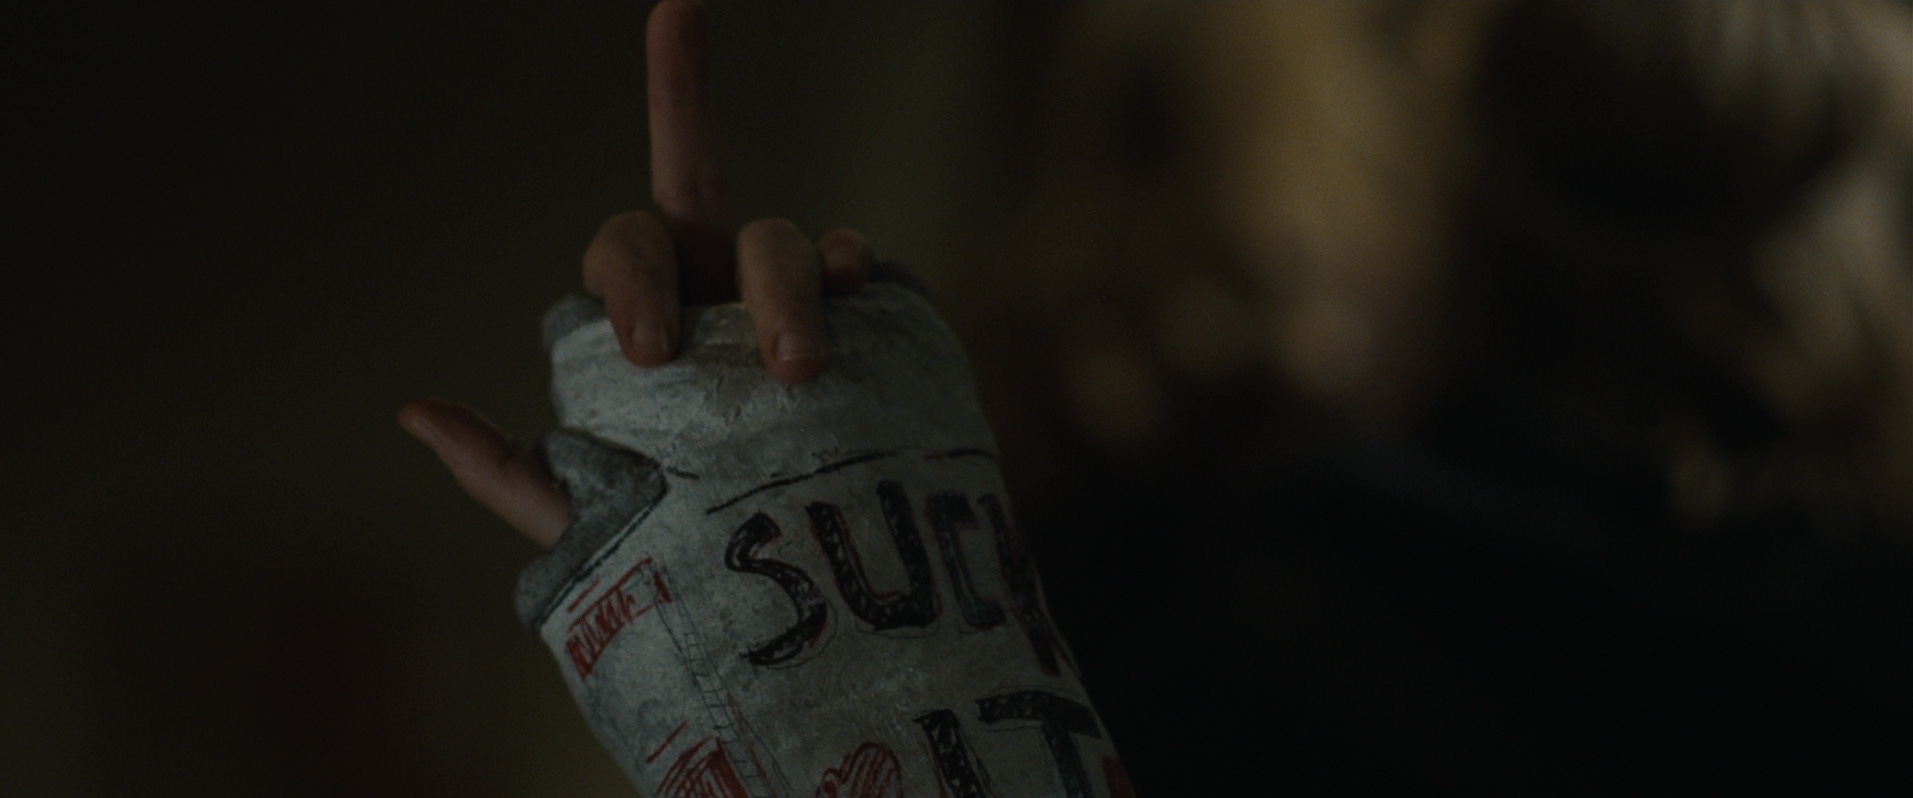
An image transfer is great for duplicating a handwritten or handmade graphic prop when multiples are needed on set. An image transfer works well as a template on non-printable or oversized paper and specialty materials to make signs, posters, banners, ephemera, or a plaster cast like the still from Halloween below.
For example, on a recent movie I worked on, we made a poster sized list for a fridge. It was hand drawn by a kid with felt pens on construction paper. Three versions of the list were required for three different scenes where the list grew longer and longer. Since the scenes were shot back to back, there was no time to simply amend the original. To ensure all three versions of the prop list were exactly same, we used an image transfer as a template.
Halloween 2007
A Stencil for Creating Guidelines
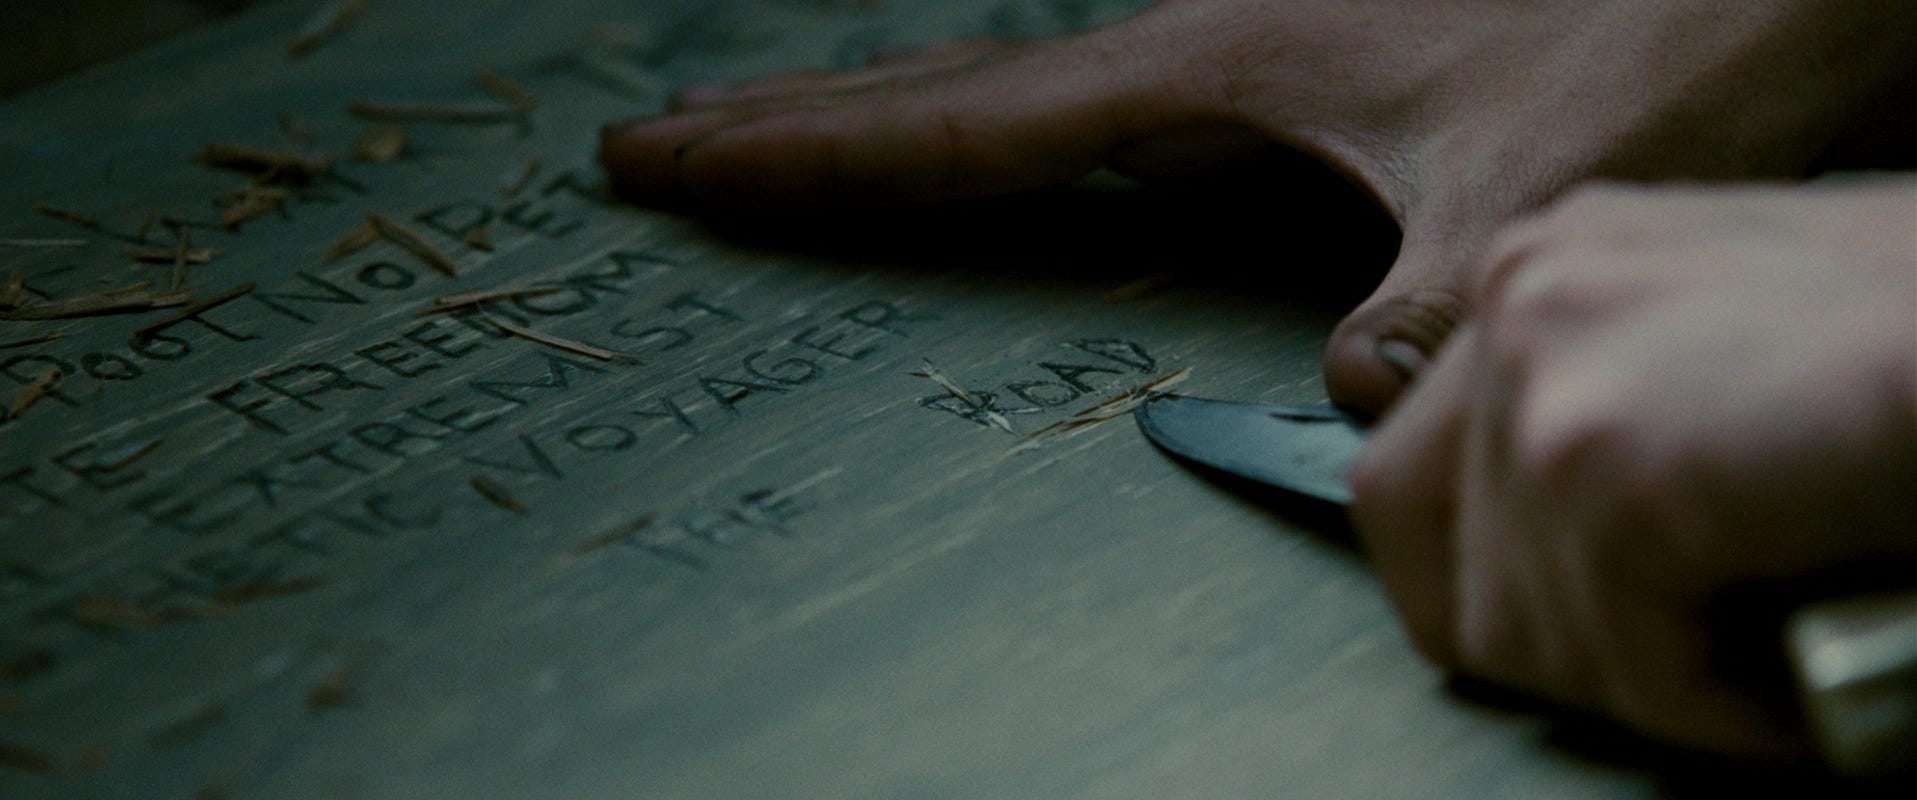
An image transfer is helpful for adding guidelines for a pattern, image or letters on any surface where a stencil is needed but can’t be printed. Transfer a stencil for cutting, foiling, etching, coloring and burnishing. It could be used to transfer an image on a linocut block for a quick stamp, or for carving letters on wood like “Orient Express” example below.
Orient Express 2017
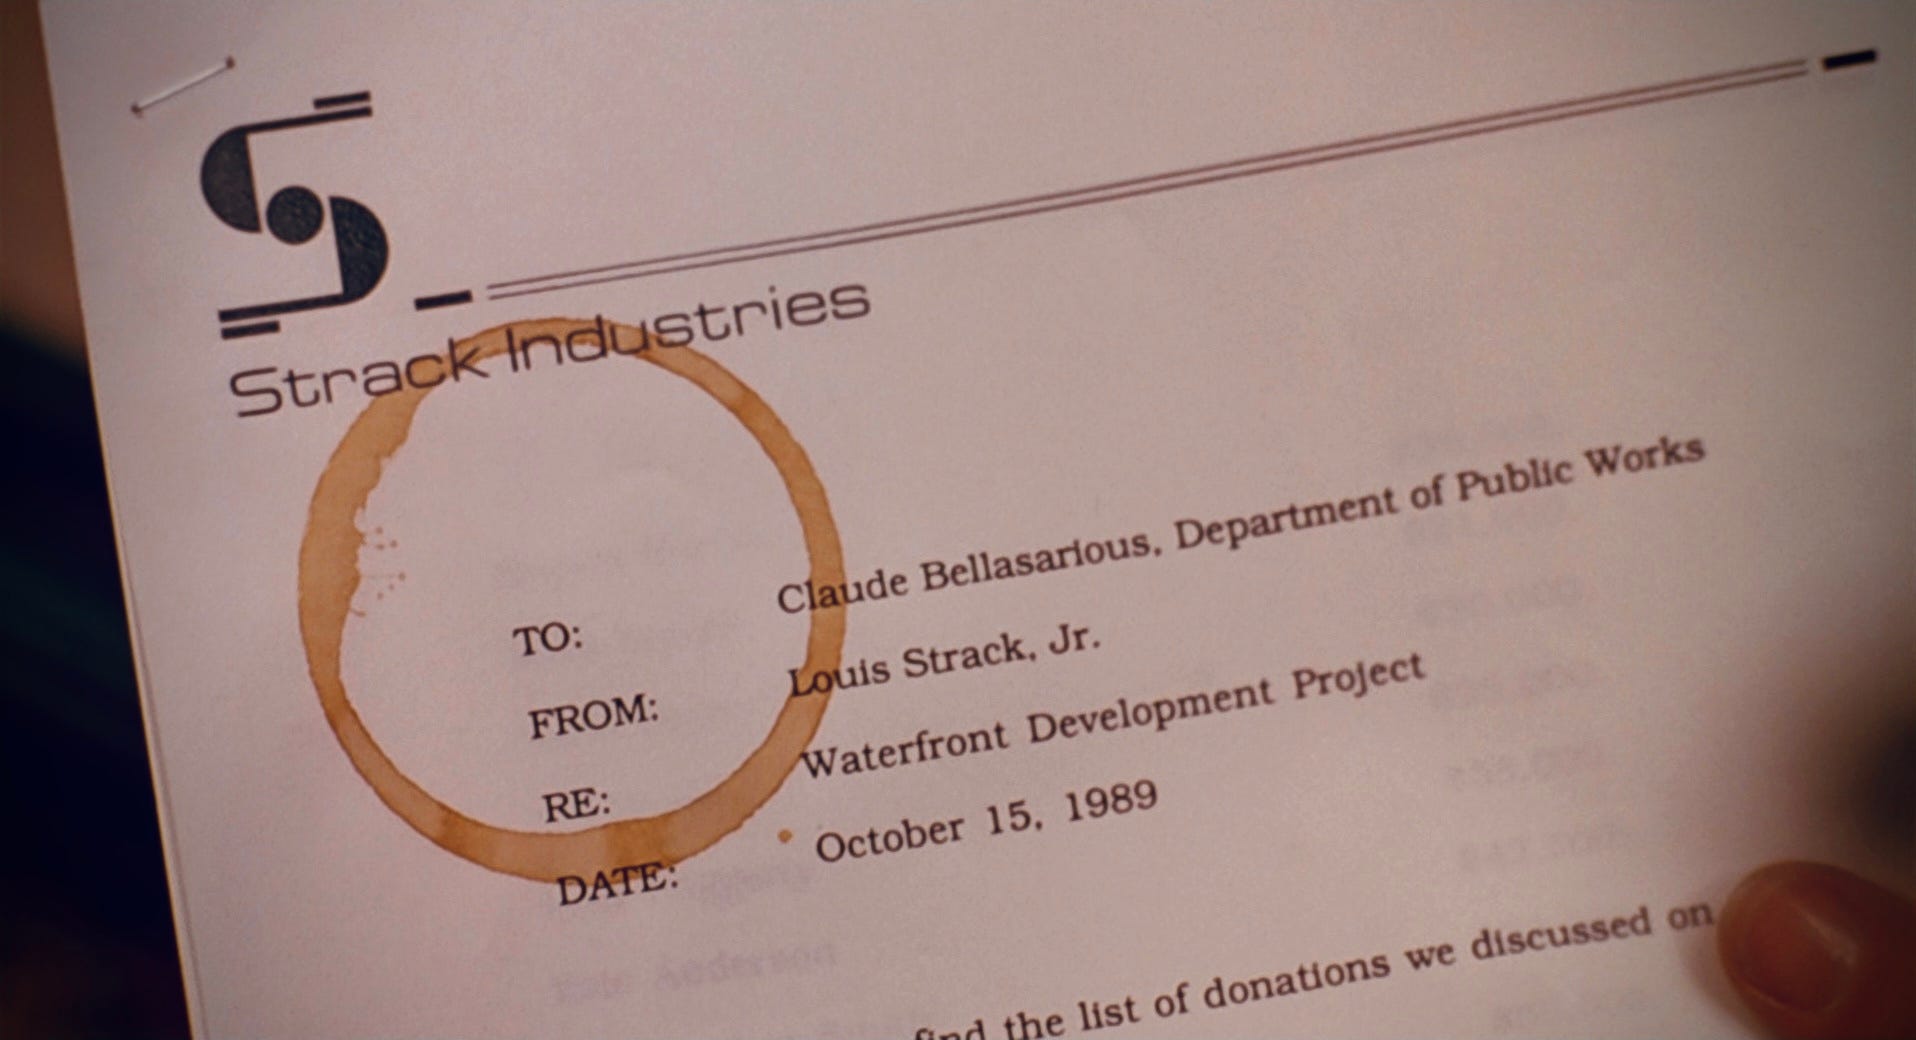
Creating Tactile Aging Effects
Useful for layering natural texture and flaws for realistic aging. Transfers can distort the physical surface making it more dimensional and natural. Can be used for packaging, labels, maps, letters, scrolls, documents to transfer smudges, ghosting, dirt, stains, grime, coffee or blood stain, or adding dirty finger prints.
Why use an image transfer instead of digital aging on a computer. Using image transfer techniques to add aging effects to a graphic prop allows for organic, unpredictable textures that are difficult to replicate digitally.
Randomized Imperfection – Unlike Photoshop, transfers create natural flaws, making aging look real.
Physical Texture – Ink can soak into materials, react with surfaces, or flake off, adding dimension.
Layered Build-Up – Transfers can be applied in stages for depth, rather than a flat printed effect.
Material Interaction – Transfers can warp, wrinkle, or distort with the surface for authenticity.
Creating a Graphic Prop:
An image transfer is useful way to create a final graphic where an artistic, faded or imperfect result is better than getting a professional print. Here are a few examples of graphics that might be made with an image transfer:
A wax paper image transfer works well for an aged wood cigar box, custom wax candle, and wooden wine or produce crate.
Packing tape is a fast easy way to make stickers.
A gel medium image transfer creates a good base for an art canvas that can be finished with brush on gel medium for texture. Great for DIY background art, especially on a budget.
Types of Image Transfer Methods
The following image transfer techniques are cheap practical methods that can be done with basic supplies that are readily available art department.
Most methods require the printed image to be reversed because it will be mirrored when it transfers.
Blender Pen (Xylene) or Acetone Transfer
Makes a good stencil, template image, or for adding smaller details.
What is it: A blender pen is an alcohol-based, inkless colorless marker. Acetone is nail polish remover, and creates a stronger results than blender pen.
Technique: Acetone or xylene work by dissolving toner and transferring it to another surface. Photocopies and laser prints give the best results, but you can also transfer images from magazine, books or newspaper. For the best results use a high contrast image.
Tools: Burnishing tool
Surface: Paper, canvas, sanded wood, leather, fabric.
Method:
Print image e (mirrored) with a laser printer or photocopy.
Place the image face-down on the surface.
Position the image printout face-down on the surface to transfer. Tape into position to prevent movement or misalignment.
Either use a blender pen or acetone:
With the blender pen rub the back of the printout, working in small sections.
Apply a small amount of acetone using a cotton ball or brush.
Burnish with a spoon or tool for better transfer.
Lift the paper carefully. Seal if needed.
⚠ Use gloves, mask and proper ventilation; acetone and xylene are toxic.
Mod Podge, Glue, Gel Medium Transfers
All three substances work similarly. These image transfers create a more embedded, hand-painted look. Good for larger artistic and colourful art transfers
What are these mediums:
Gel mediums are clear acrylic paints that come in different viscosities.
Mod Podge is an adhesive and sealer.
PVC glue is an adhesive.
Technique: Paint gel over a printed image, place it face-down on transfer surface, let it completely dry, then rub paper off with water.
Tools: Foam brush, burnishing tool, exfoliating gloves, heat gun or hair dryer, warm water in a spray bottle or sponge.
Surfaces: Canvas, wood, leather, fabric, and non-porous material. Paper will not work well.
Method 1:
Print image (mirrored) using a laser printer.
Brush a thick layer of gel medium onto the surface.
Press the image face-down onto the medium. smooth out any bubbles.
Let it dry completely (6–12 hours) or dry faster with a heat gun.
Dampen with water and rub off the paper backing.
Use your fingers, a soft cloth or exfoliating gloves to reveal the image.
Seal with varnish or more gel medium or Mod Podge.
Packing Tape or Contact Paper Transfer
Creates Transparent Decals.
What is this: Clear plastic packing tape, used to seal cardboard boxes. Contact paper is an adhesive vinyl used for lining drawers and shelves.
Technique: Print an image, press clear tape over it, soak in water, then rub off the paper backing. This method is great for transferring onto glass, plastic, ceramics, back of a laptop, graffiti in a street scene.
Tools: Foam brush, burnishing tool, bowl of warm water
Surfaces: Will adhere to any surface a sticker would normally stick to.
Method:
Print or photocopy your image (not mirrored)
Place clear packing tape over the image, pressing firmly.
Burnish (rub) the back to ensure full adhesion.
Soak in warm water for a few minutes.
Rub off the paper backing gently.
Let it dry.
Stick the tape (Sticker) onto your surface.
Wax Paper Transfer
This method is great for transferring an image to a wood surfaces like a small sign, crate, or box. It is also great for putting an image on a wax candle, if that very specific graphic prop ever shows up on your graphics list.
What is this: Wax paper used to wrap food.
Technique: Print an image directly wax paper on an inkjet printer
Tools: Burnishing tool, heat gun
Surfaces: Wood and wax.
Method:
Freezer Paper Transfer.
Cut freezer paper to printer size.
Print your image with an inkjet printer on the glossy side.
Quickly press the wet ink onto the transfer surface.
Burnish with a spoon.
Lift the freezer paper carefully.